freestyle #7
3D ANIMATED EXPLORATIONS
THE PROJECT
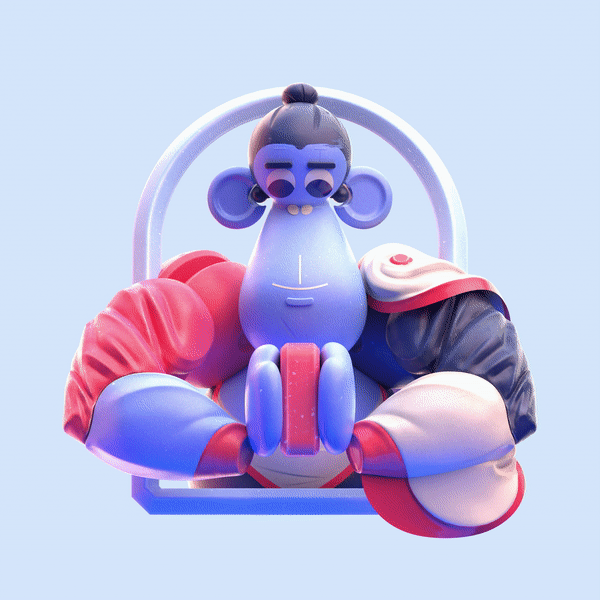
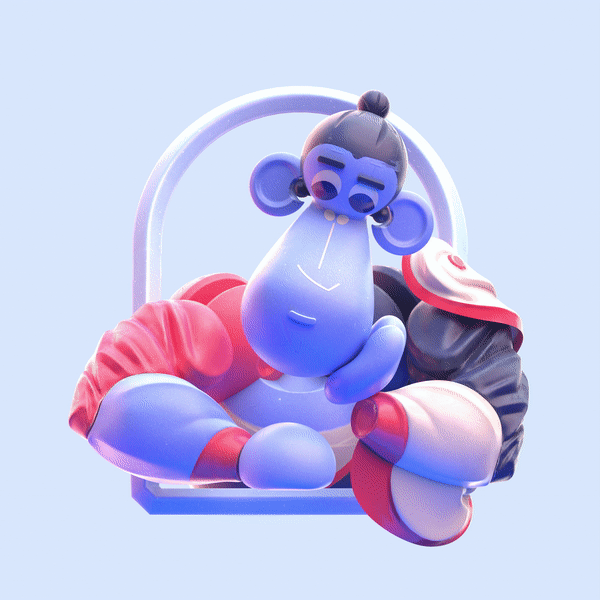
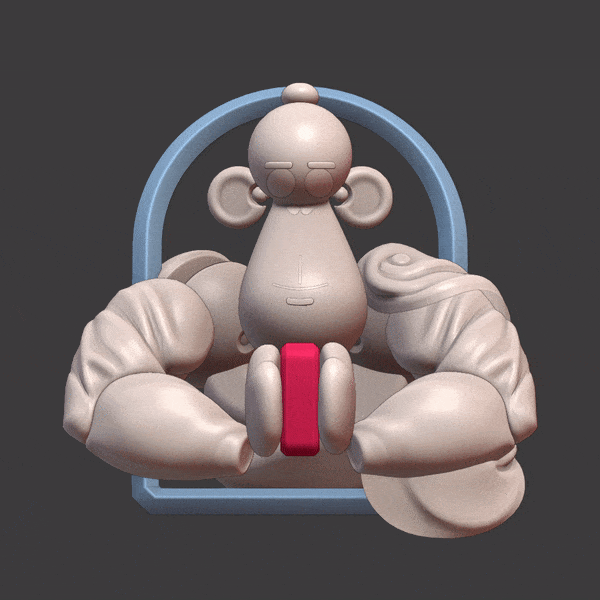
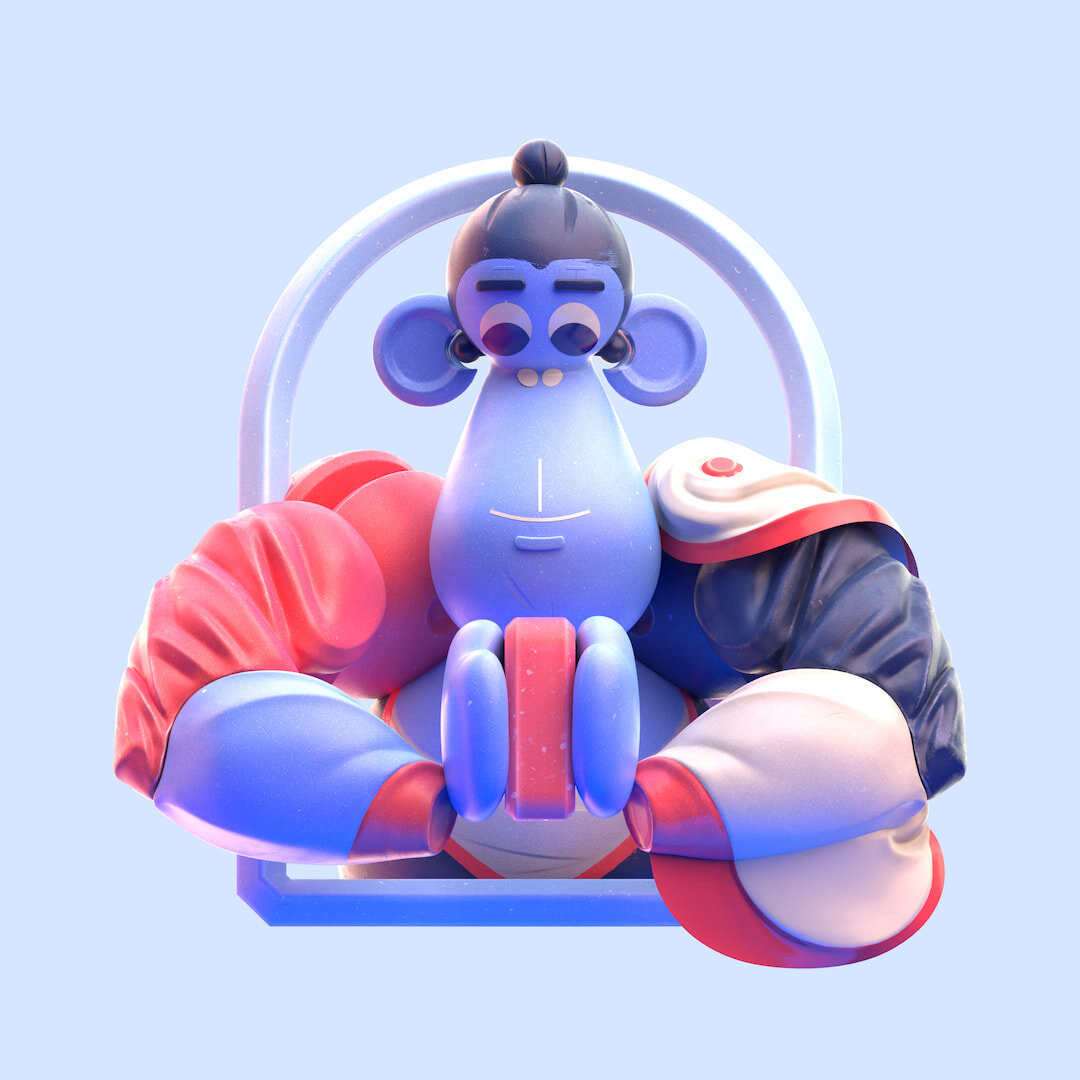
I'm back with a new animated series based on the three wise monkeys maxim, lockdown edition. I reworked each principles and monkey to match the theme and gestures:
Mizaru, who sees no evil, covering his eyes → hand soap
Kikazaru, who hears no evil, covering his ears → isolation
Iwazaru, who speaks no evil, covering his mouth → overeating
Design, modeling, shading, lighting & animation: Thomas CHARIER.
Audio: Olga WOJCIECHOWSKA.
Get them with sound on instagram!
~ 2021
BLENDER × substance
Blender is a free 3D creation suite and opensource. I started using it again in 2019, once version 2.8 was released.
I’m a Substance Painter user since 2016 and I wanted to know if my previous texturing pipeline was in fit with my new favorite software. Blender can handle vertex & texture painting but Substance provides a lot of great tools to make your life easier when it’s about texturing.
“baking normals using my good old friend Substance Painter!”
Like the previous series of the same title, Freestyle is a purely experimental work. This series is both the result of a technical learning but also a personal research around graphics and colors.
The creation of short loops makes it possible to cover most of the functionalities of a 3D software and develop a visual language as the posts progress. The result: animated plastic toys.
Besides texturing, all the design work was done within Blender. The research was developed with the GreasePencil technology.
I wanted to check again the classic 3D character creation pipeline. This study highlights the link between Blender and the texturing process in Substance Painter.


technical breakdown
This freestyle is a little more complex than the previous ones but I had fun creating this character!
Since I use only one character for the 3 visuals, I pushed the design and the character creation pipeline as I would do for a real production asset.
This is a collaboration with the wonderful composer / sound designer Olga Wojciechowska.
Take the time to listen to his work on instagram!
Here are some insights of the full process.
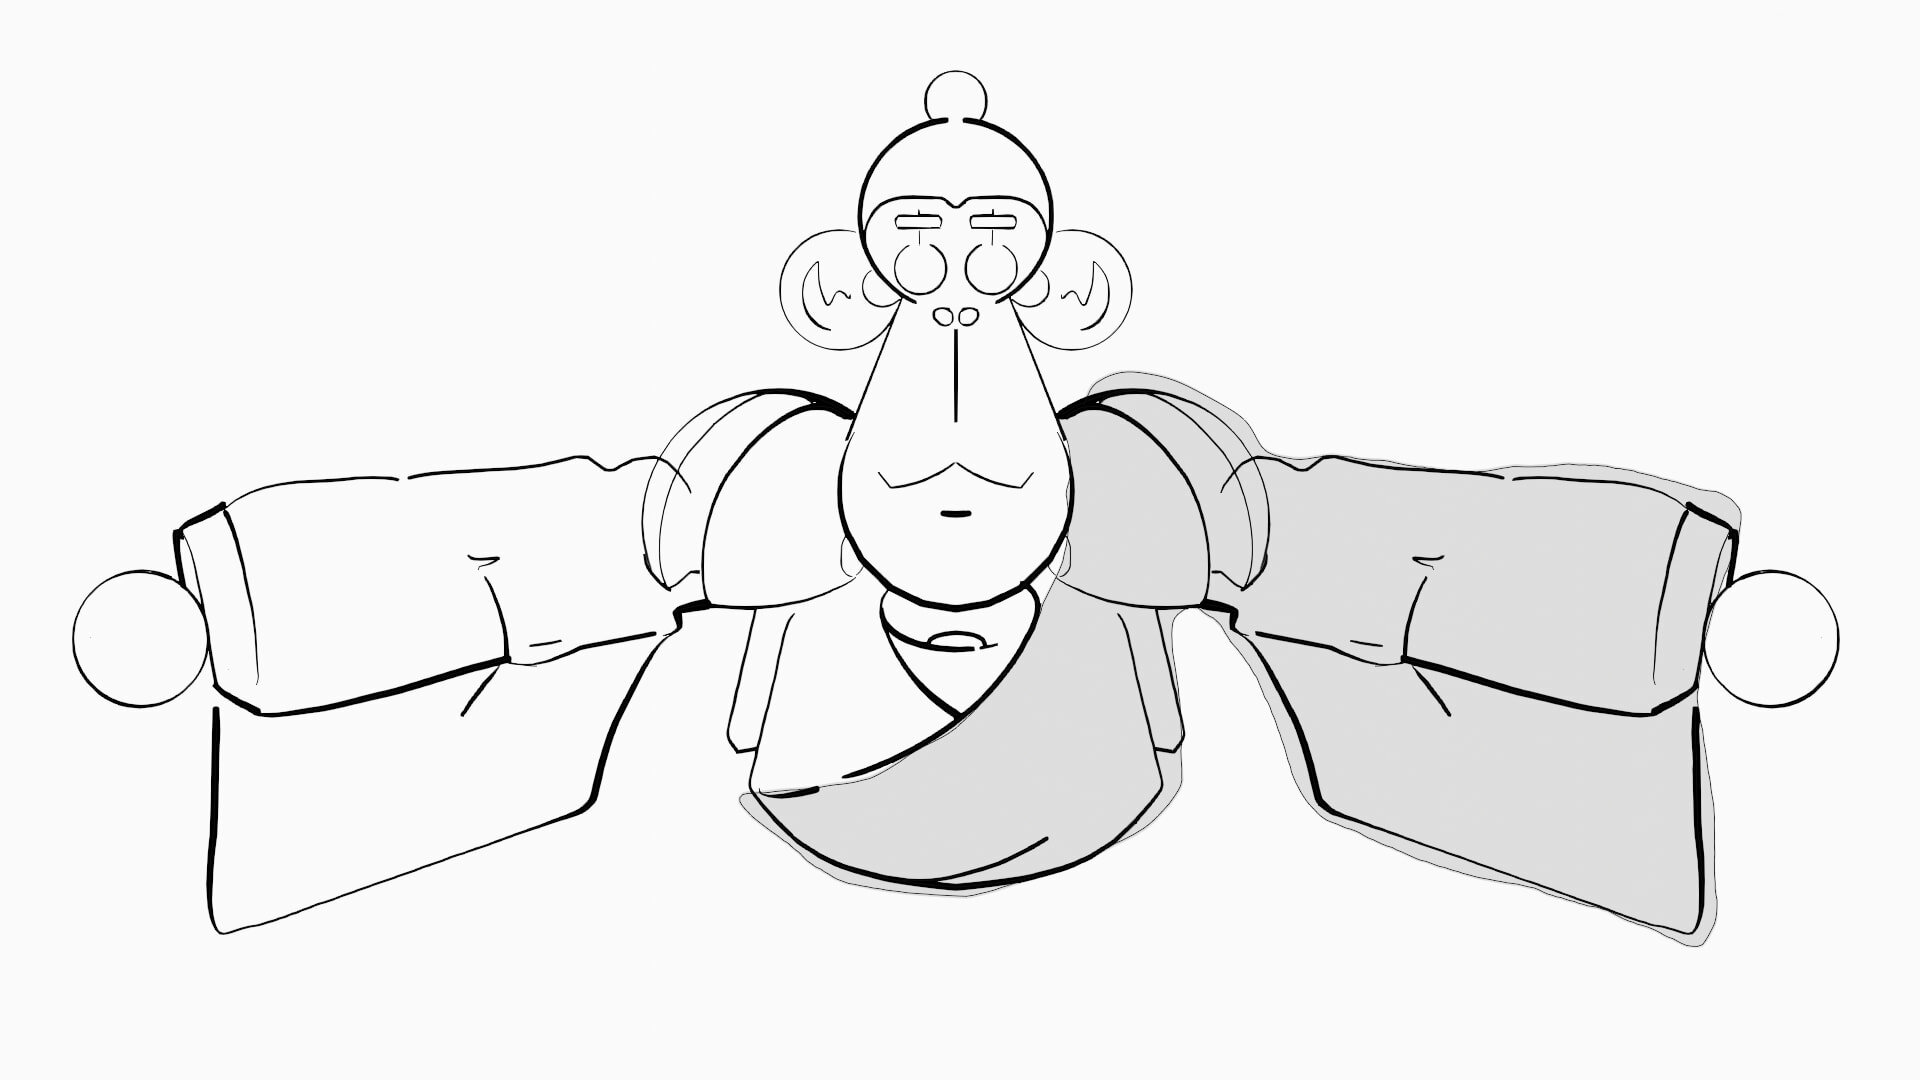
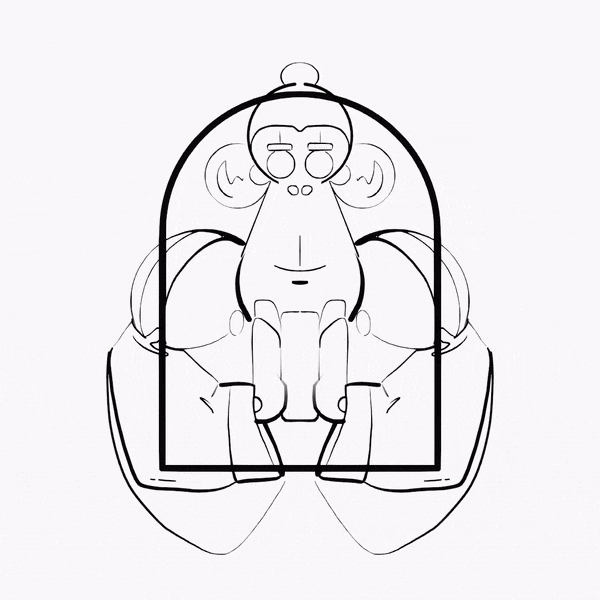
Design and sketch
Playing with a keyhole face and shaped toy design. Drawing the character in T-pose allows you to see how it takes up space in the composition. Keep it simple, you might need to change things after the animatic.

Animatic and timing
My workflow consists to anticipate the key moments by sketching some poses, keeping in mind the ratio and the silhouettes of the character. It's like an advanced storyboard at this stage.
Then I compile the poses to make an animatic, and finally I create in-between to have a solid base before animating!

“when this step is ok, you’ve done 50% of the work.”

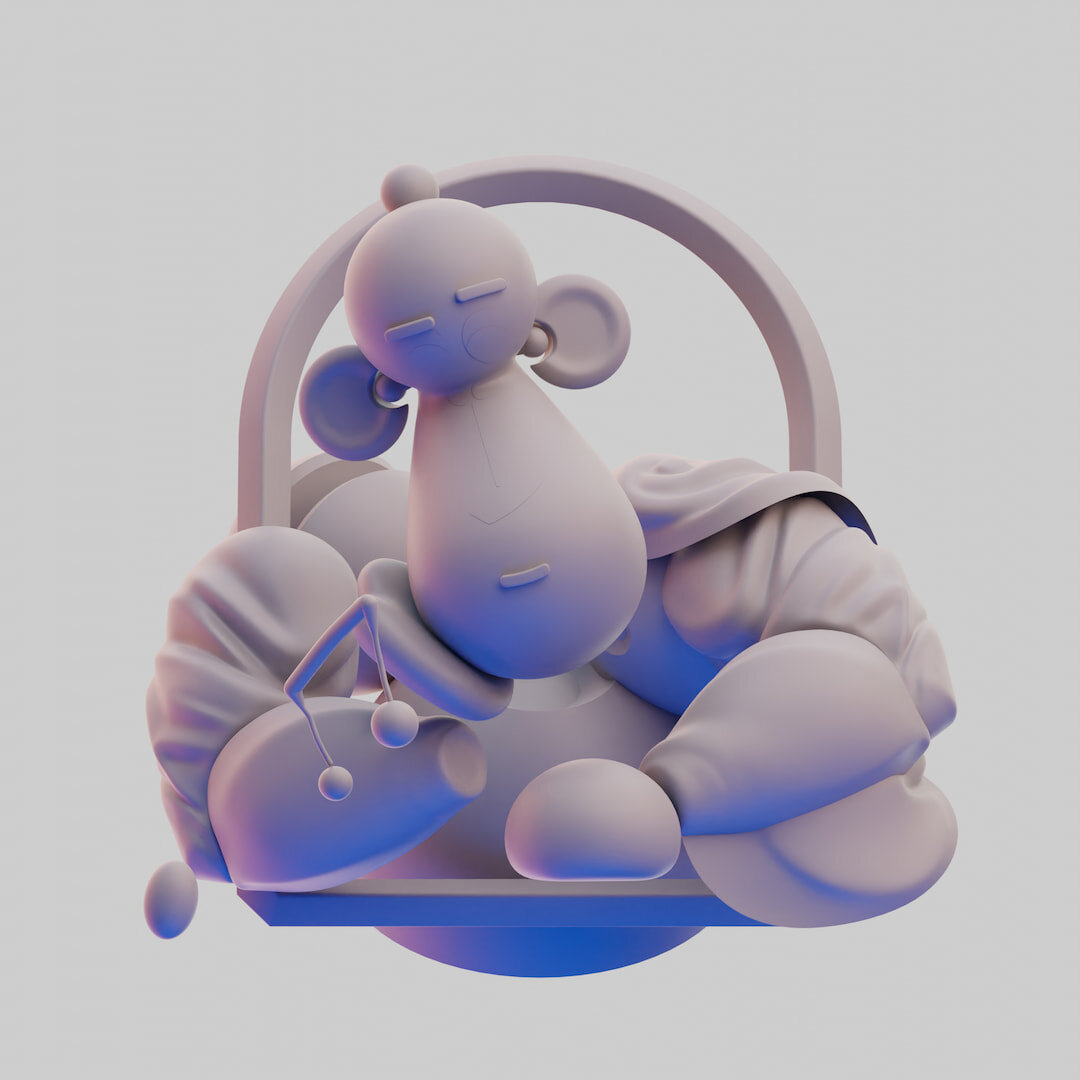
Blockout
Quick blockout before sculpt.
Only use 3D primitives and simple mesh with some subdivision levels.
Before sculpting, I realized that the arms were too straight and would bend badly.
An additional sketch makes them more fitted and curved, the folds are more natural now!


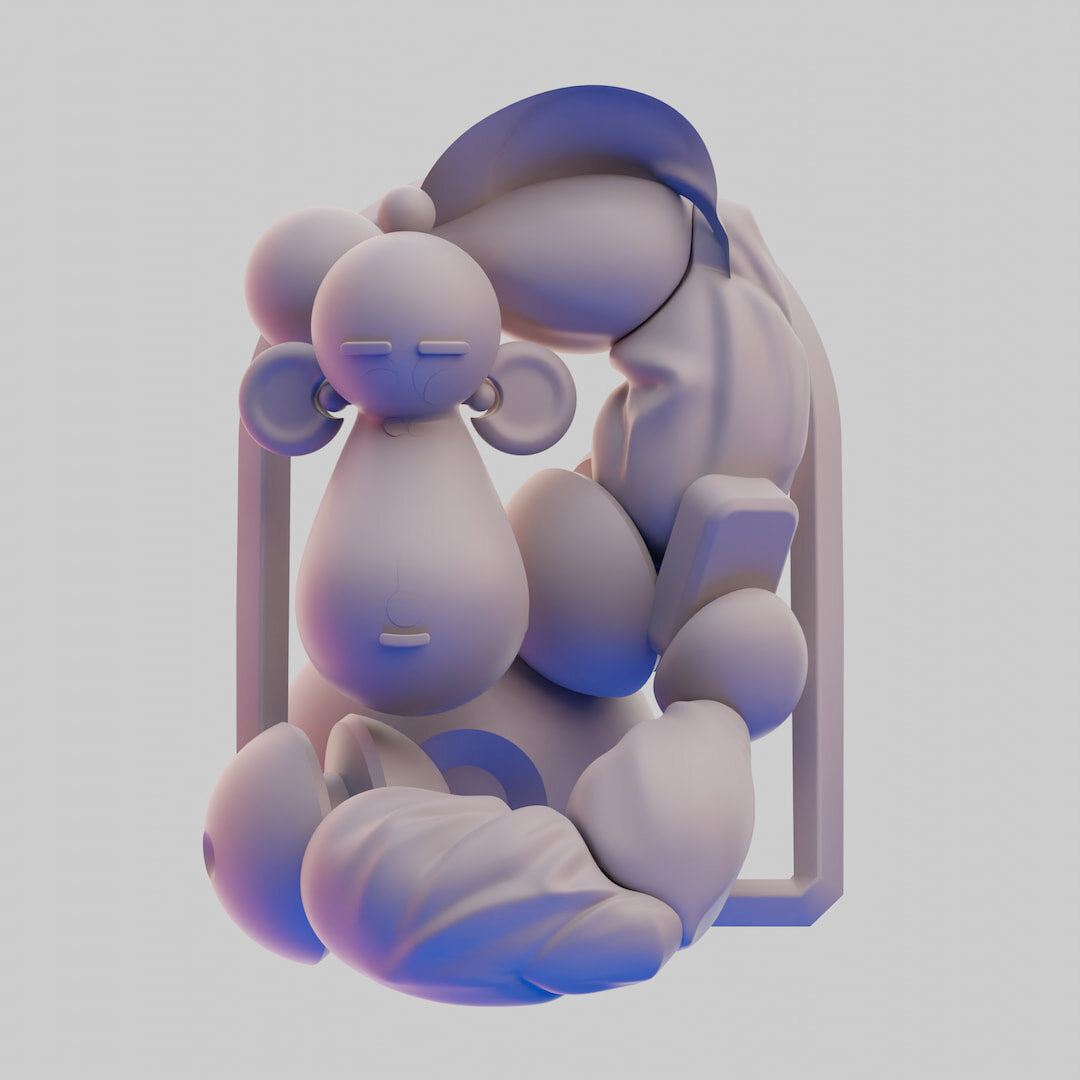
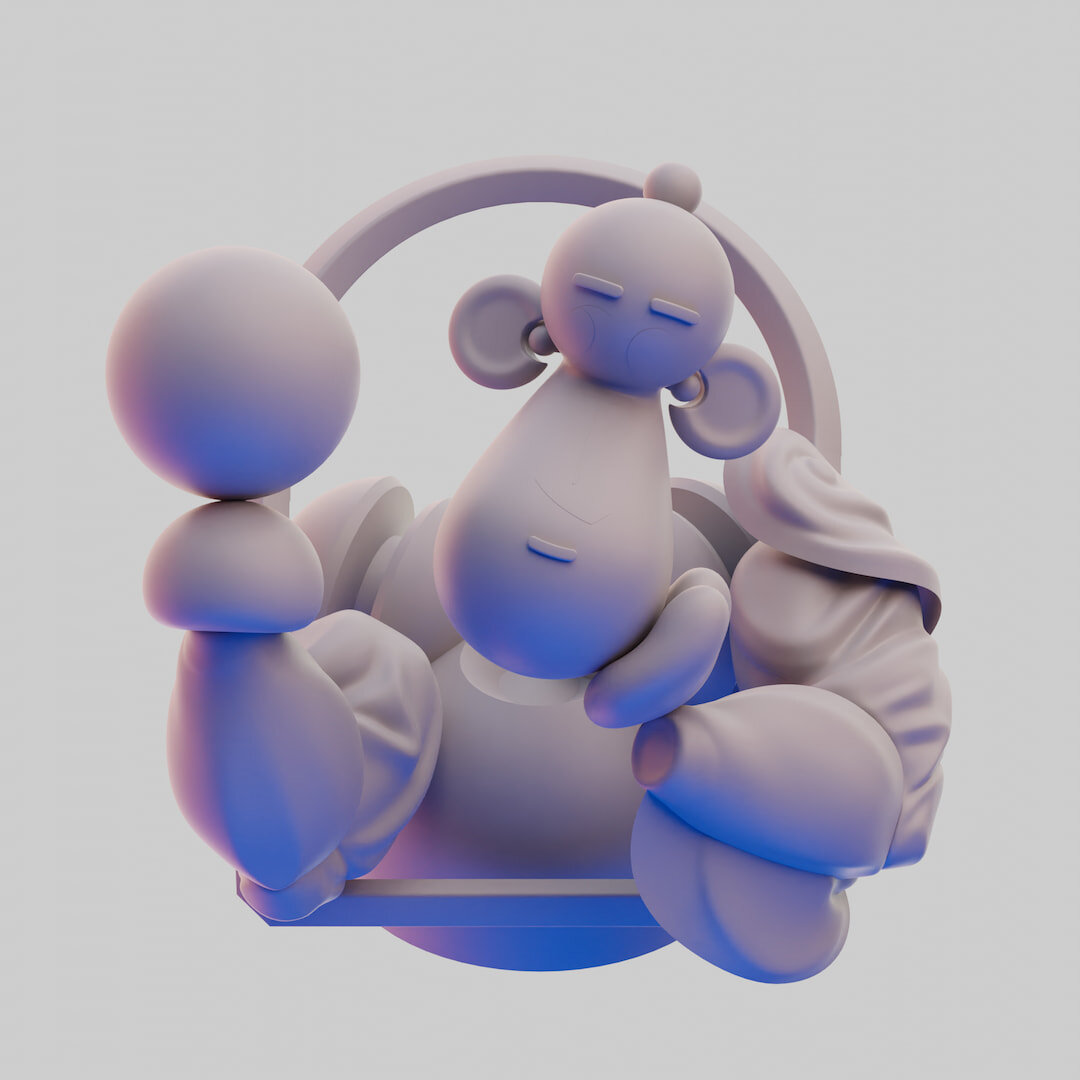
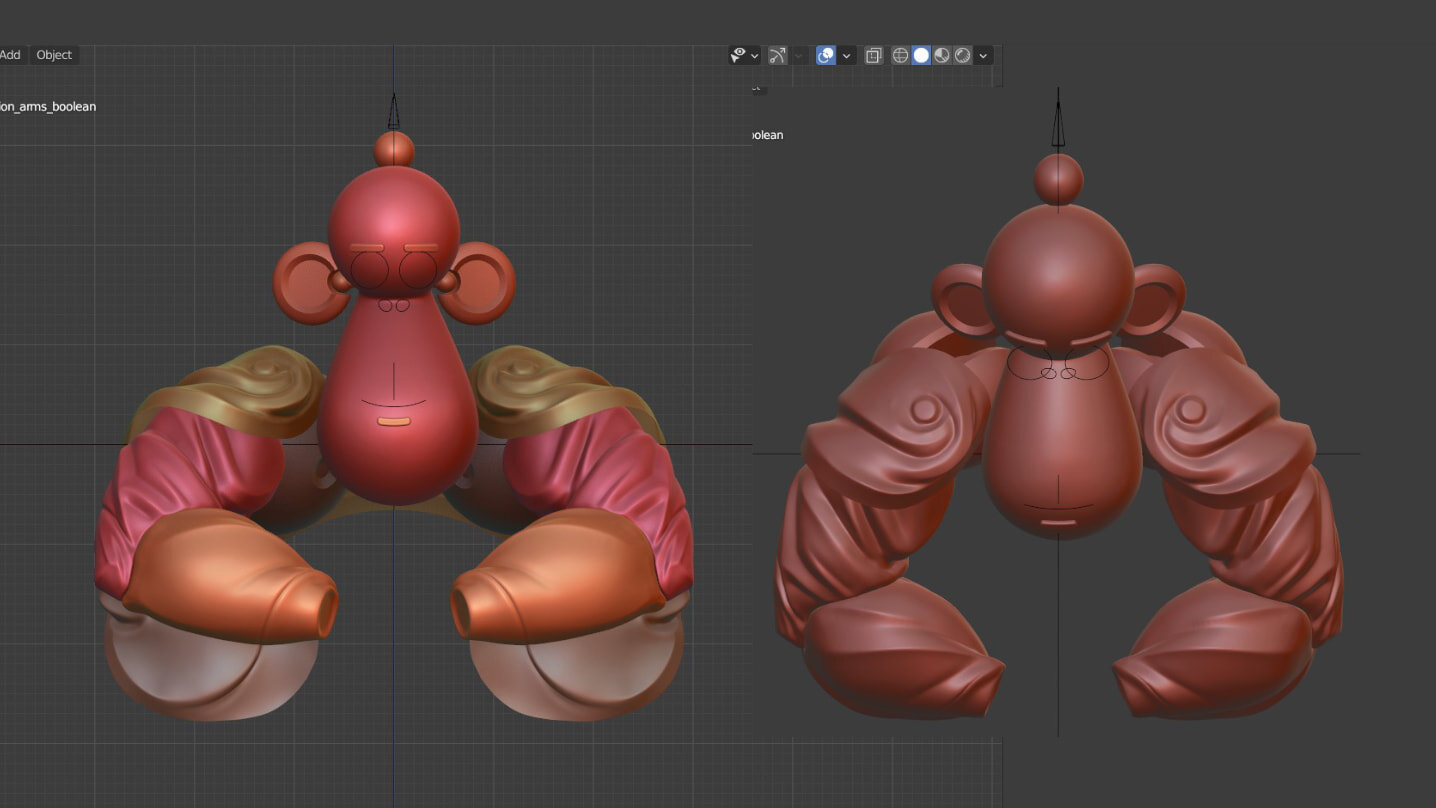
Sculpting, retopology & rig
With a proper blocking it's really easy to bring details to your mesh.
Playing with the Level Of Details (LOD) contrast makes its head pops so much!
After the retopology of the sculpt, I created an easy FK arm rig based on bones & controllers.

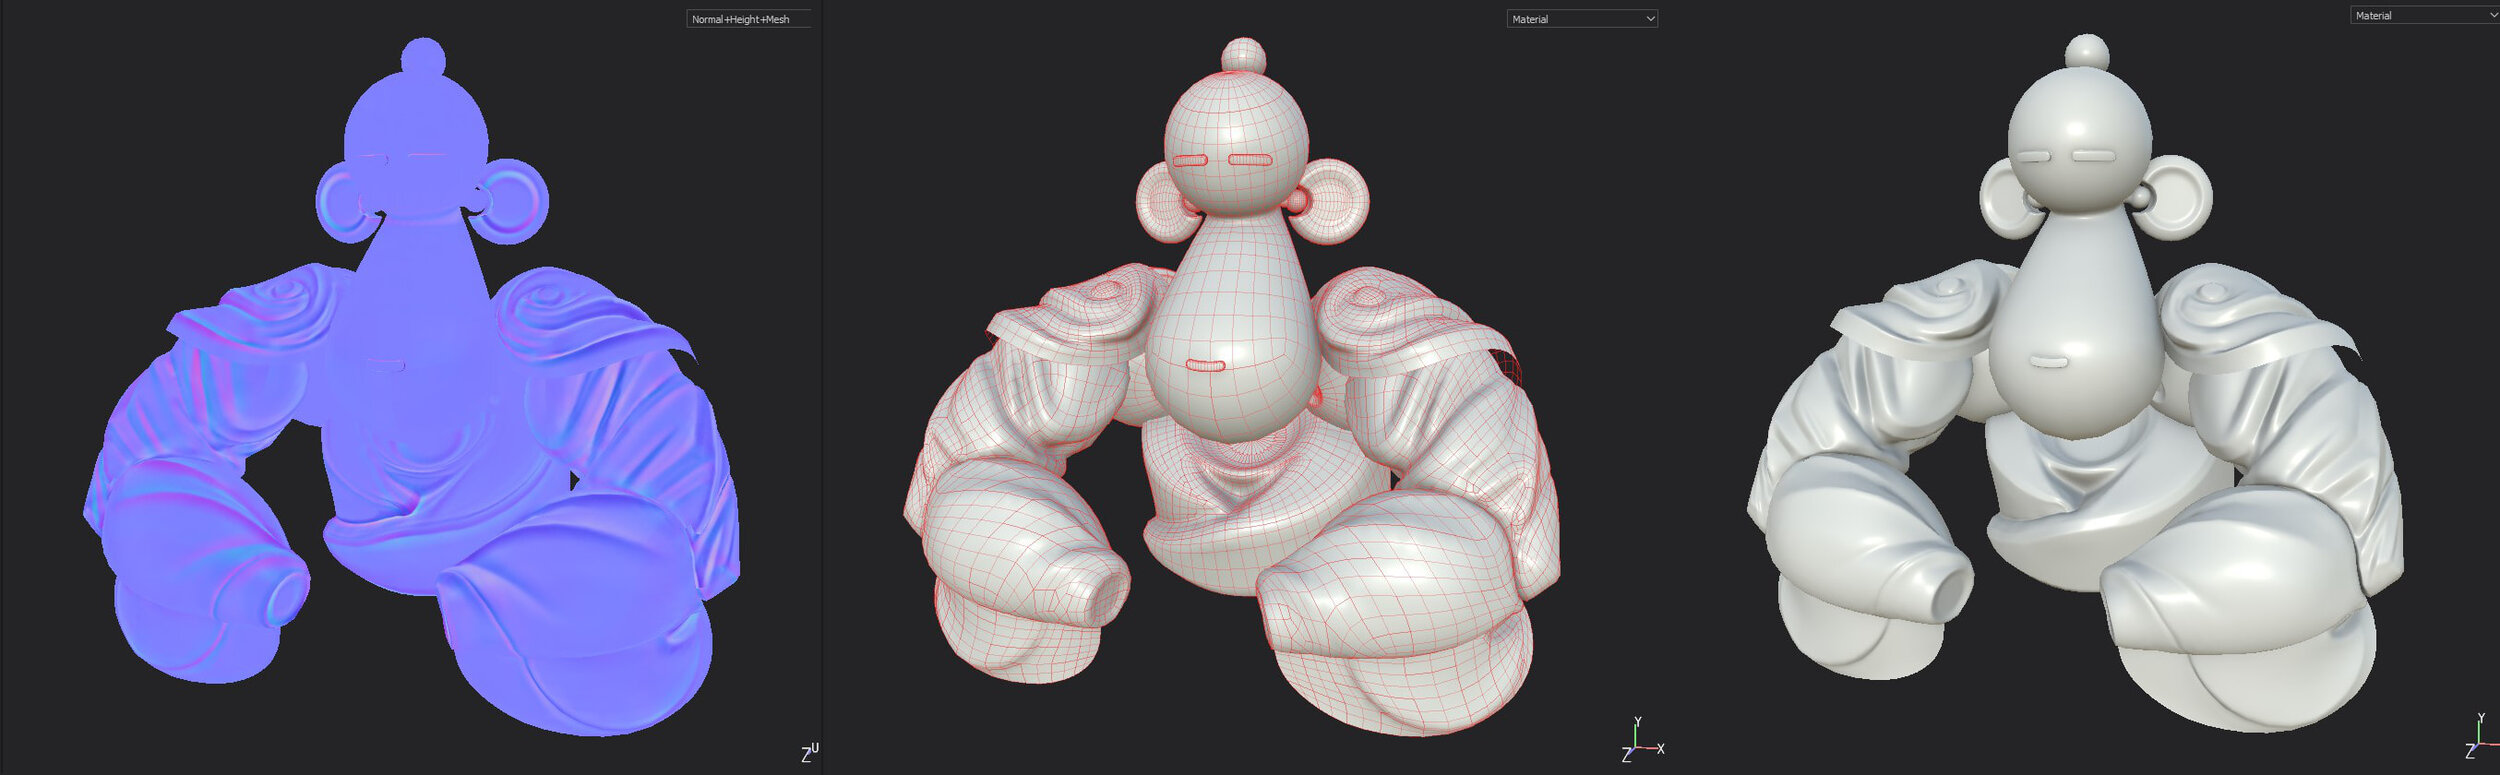
Texturing
Standard texturing process including uv unwrapping first, then baking normals from high poly sculpt to lowpoly mesh. I used Substance Painter to bake normal maps and also create the plastic texture with all color variations & soft damages.
“procedural flakes are done in Blender for the final touch!”


3D animation
Fun part of my workflow. First I setup a rough pass first based on 2D grease pencil animations. Refining details happens in a second time when the whole body is put in space.
Animation process is quite fast when you follow ready-made timings.
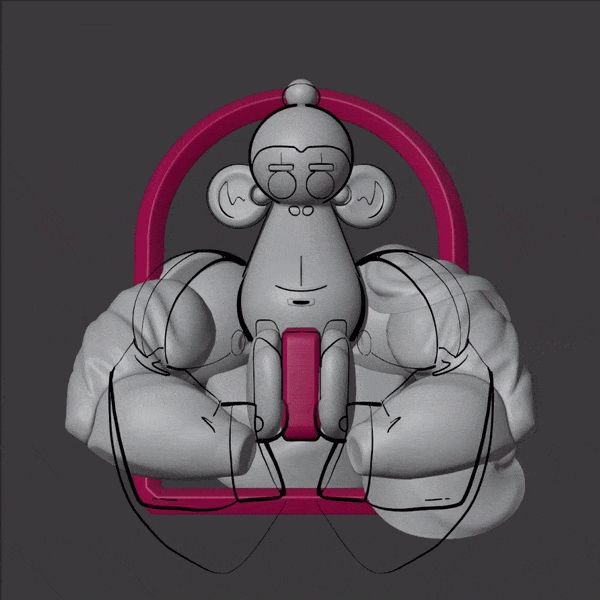
Lighting
Final step of the project: here is my light rig breakdown. Area lights only!
Always use big light sources to avoid sharp transitions, its soften the shadows too.
I tend to not use compositing nor paint over in my work. I keep it simple: no trick, no complex CC.
“raw render is the way.”


conclusion
As the other Freestyle animations, this series is for me a capital part in the renewal of my creative process.
This project it’s just a reminder of the character creation workflow which I already discover along my career. It’s sometimes useful to get back to your traditionnal pipeline and take some time to improve some steps. I discover some cool tricks during this production but the best part was to get rid of the time consuming import/export from Zbrush by only using Blender and Substance Painter.
The next step is to convert my plastic shader from Substance Painter to Designer, but for now I like how I can interact and play with paint layers to create interesting details.
Above all it was really fun to let Olga sound design the animation, I'm really happy with the result.